Today I have a tutorial for you guys! Last week, I made a felt case for my Kindle and I love it. I already had a hard cover for it, but I thought I'd make something a little prettier in an attempt to pick it up more often. This tutorial is very simple and doesn't require a sewing machine.
Materials needed:
Piece of felt 14'' long and 8.5" wide
Needle and thread
Two buttons
Embroidery floss
Scissors
First, you're going to lay your Kindle on top of the felt, and make sure that you have about 2 inches of leftover material after folding felt over the Kindle.
You can use a pin to hold the felt in place, but I didn't. I sewed by hand up the sides of the felt.
After completing the other side, your case should look like this:
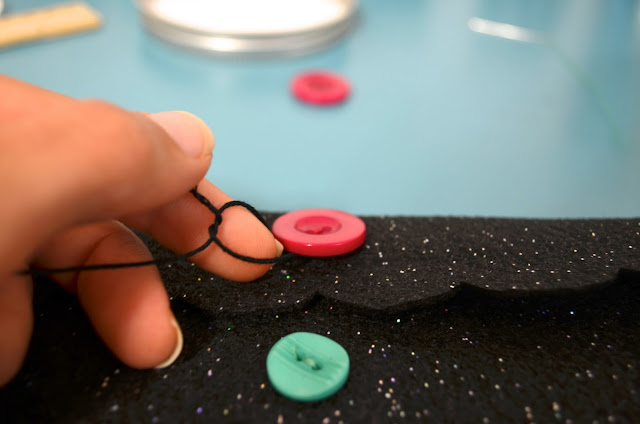
Sew your buttons on. I was going to use matching buttons but since my case was black, I decided to tacky it up a bit and use mismatching ones! After sewing them in place, take your embroidery floss and tie a double knot to the top button.
Then wrap the floss around the buttons until secure. And you're done!
*This post was inspired by a DIY iPad case from Oh So Lovely, but adapted to my own style and measurements.*
If you decide to make one, I'd love to see! Just link to your post/pictures in the comments. :)


This is such a lovely idea! I really love your blog, it's so colourful and quirky :)following you!
ReplyDeletehttp://www.ragsoflove.com/ xx
Awww thanks!! :)
DeleteSeems pretty easy! I really like the felt you chose, sparkly!!
ReplyDeleteNew follower! :]
I like it too, it's just thick/stiff enough to hold shape! It only took about 15 minutes, too! :)
Delete