Showing posts with label project. Show all posts

Monday, July 14, 2014

DIY: Vintage Step Stool Chair


Almost a year ago, I found this chair on the side of the road. I swiftly turned around and stuffed the dirty thing in my trunk. I set it in the garage for a few months and kept debating whether or not it was worth fixing up because it was so dirty and rusted. While working on another project, we used a palm sander to sand the top of the chair and it came out so nicely that I knew we had to keep it! So I went and got paint and a butt load of painters tape and this beauty was born!


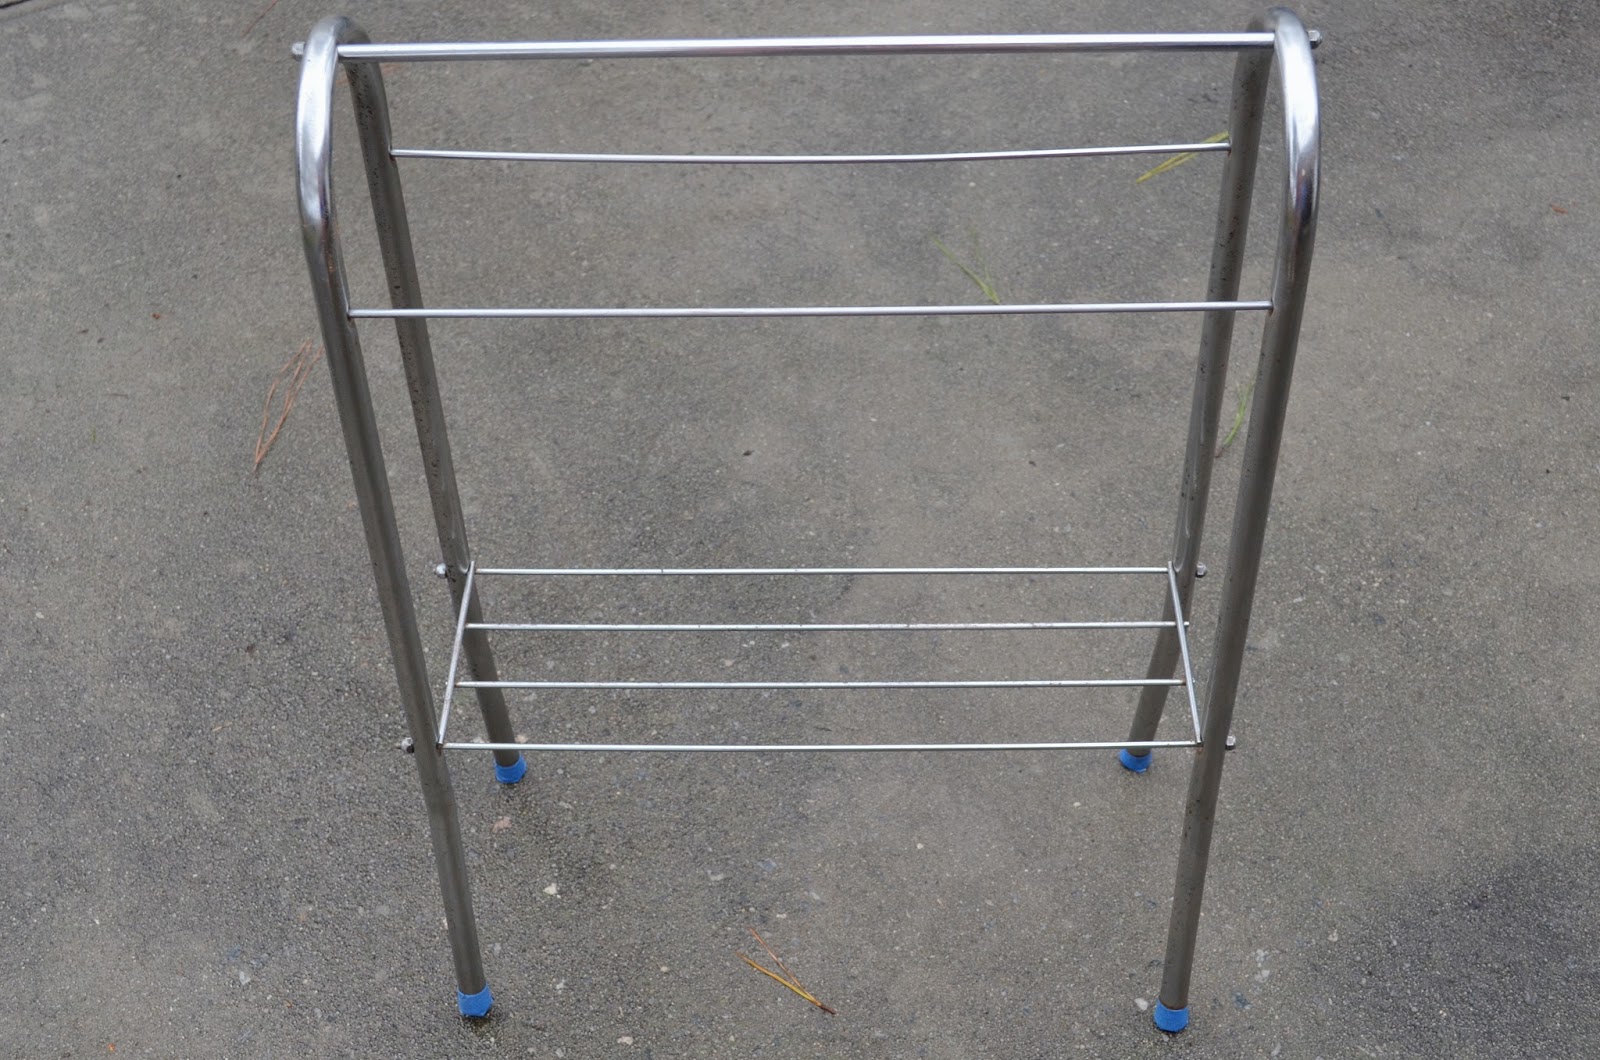
The first two pictures are from before we did anything but wipe it down a little bit. Then we used a wire brush attachment on the end of a power drill to get all the rust off the chair. This took some time, because there was a lot of rust! Then we used some enamel primer to paint a few coats on top of the seat because it was the most damaged part of the chair.


I spent probably an hour putting tape on this thing, it was so aggravating! But I wanted to make this thing beautiful, so I made sure to do a good job taping it up. Afterward, I took it outside and put two coats of red glossy spray paint, letting it dry between coats. I think it looks perfect in Levi's room!


Friday, March 7, 2014

DIY: Quilt Rack Makeover


Months before I even found out I was pregnant, I found this dingy little quilt rack at a thrift store for five dollars. It was rusted and beat up, but I just knew it had potential. When I found out I was pregnant and was reminded of my purchase, I knew it was time for the makeover! This project cost me a total of $9.

 before

First, I easily took it apart and sanded the rust off.


Then I put it back together, and made sure to tape off the feet with painters tape.


Then I used glossy white enamel spray paint, which was four dollars at Lowe's. I left it in the garage to dry overnight. Actually, it was left to dry for about two weeks until I finally took the tape off and got the final result pictures! Haha. 


I love how it turned out! My mom also made the quilt that is sitting on the rack for Levi's nursery! It's super awesome and I'm in love with the bold red border on it. I'll get a better picture of the quilt and show it off real soon! ;)

Friday, July 26, 2013

Life Lately

Holy smokes, am I glad that July is almost over! It's been emotional and crazy and unproductive at the same time. I've been hanging on to getting this job at a salon for almost a month, and I decided I wasn't going to wait around anymore. The owner is selling my jewelry which is going well, but I think I'm just going to pull it out and call it quits... Because I got a job! I'm so excited to do something with myself other than sit at home and feel lost.

Here's a few of the good things that happened!


Making postcards for the PCSW hosted by Jennifer of Grits and Moxie.


Little envelopes I made for a secret project.


Hanging with this crazy fella!


Perfectly packaged mail will brighten any day.


Fried green tomatoes from Pawley's are the best.


Urban Outfitters had a grand opening here (!!) and Washed Out played.


Months of rain gives you dirty dogs.


Panic attack?

Two of my best friends are getting married tomorrow, and I'm so happy and excited for them! I've been friends with them both since the beginning of high school so watching their relationship develop has been awesome. Weddings are crazy and being in one proves to be even crazier. Being newly married myself, I found myself listening to lots of love songs recently (Ahem... Offering by The Avett Brothers) and getting emotional thinking about how amazing their life is going to be! I can't wait to watch them keep growing.

Tuesday, June 11, 2013

DIY Kindle Case

Today I have a tutorial for you guys! Last week, I made a felt case for my Kindle and I love it. I already had a hard cover for it, but I thought I'd make something a little prettier in an attempt to pick it up more often. This tutorial is very simple and doesn't require a sewing machine.


Materials needed:
Piece of felt 14'' long and 8.5" wide
Needle and thread
Two buttons
Embroidery floss
Scissors

First, you're going to lay your Kindle on top of the felt, and make sure that you have about 2 inches of leftover material after folding felt over the Kindle.


You can use a pin to hold the felt in place, but I didn't. I sewed by hand up the sides of the felt.


After completing the other side, your case should look like this:


Sew your buttons on. I was going to use matching buttons but since my case was black, I decided to tacky it up a bit and use mismatching ones! After sewing them in place, take your embroidery floss and tie a double knot to the top button.


Then wrap the floss around the buttons until secure. And you're done!


*This post was inspired by a DIY iPad case from Oh So Lovely, but adapted to my own style and measurements.*

If you decide to make one, I'd love to see! Just link to your post/pictures in the comments. :)

Tuesday, December 18, 2012

Movin' on up: Living Room.

The boyfriend and I are getting a house soon, and I'm so (SO SO) excited! Last night I fell asleep with a fast heartbeat and a smile on my face, thinking about our dog sleeping inside and a craft room and a place to call our home. I've done a lot of growing in the last year and I'm so ready to finally project that into a space.

So I thought I'd put my Pinterest lurking to good use and get some inspiration. Since I'm not sure we'll be able to paint, I'd like to keep it homey but with pops of color and retro and modern accents. I've always loved the kitschy look, especially in the kitchen, but I feel like my taste is changing all the time, so I'd like to stick with something a little simpler, that I can easily redecorate and switch things around.


Couch via Biscuit Home // Chevron Rug // Apple Pillow via Klippan // Coffee Table via Zinc Door 
Wall Clock via Target // Lumineers Print via Livy Love Designs

Tuesday, November 20, 2012

Holiday Crafts: Pet Christmas Stocking Tutorial

I'm going to be posting some holiday craft tutorials over the next few weeks that I'm really excited about! Today I'm sharing with you guys some stockings my mom and I made for the pets in my family. We have eight total (four dogs and four cats) so it was quite a lot of work. The supplies are inexpensive and this is a project for any skill level.


You will need:
Freezer paper (or some paper to trace on)
Red material of your choice
White felt
Christmas pattern fabric
Glitter glue
Hot glue gun
Silver stretchy cord

First, you're going to make a 12x6 rectangle on your tracing paper. Draw your stocking shape within the rectangle. I let my foot come out a little further than the 6 inches.


Next, you're going to use your tracing paper to cut out whatever shapes you want to go on your stocking. I chose a bone, mice, and fish.


Now you're going to take the stocking shape you have cut out and pin it to your red fabric. I doubled up the fabric before cutting, since the stocking is obviously going to need two sides, and we had eight to make and didn't feel like pinning the design 16 times.


Take your white felt and cut a rectangle that's 6 inches by about 3 or 4 inches. (Or however big you want the white top of the stocking to be.)


Now take your shapes you previously made and pin them to your patterned fabric to cut out.


Yay! We're, like, halfway there now. Take two pieces of your stocking fabric and put the white strip at the top, in between. Then sew around the edges, leaving the top of the stocking open and unsewn.


Now turn your stocking inside out. You'll be left with the white strip looking like this:


Hopefully your hot glue is heated up, because you'll need to glue that thing down. Try to only glue around the edges so you can't see it through the top of the fabric. 

Now you'll place your little shapes where ever you feel like and glue those down, too. I kinda failed at taking pictures until the end, but it's pretty self-explanatory so I think you get the idea.

Once gluing everything down, take some stretchy cord, or ribbon or whatev, and glue it around the border. Cut another separate piece to make a loop for the inside.


Now use your glitter glue to glue around the edges of your shapes. I think it makes it stand out more and also prevents fraying around the edges. Then write in your beloved pet's name.

Be sure to let your stockings dry overnight, or longer, before poking around at the glitter glue. That stuff really doesn't dry quickly enough. Now you can show your pets how crafty you are, and they will love and appreciate your efforts even more!


If you decide to make these stockings, I'd love to see how they turn out!

LinkWithin

.